Feeling a bit underwhelmed by your drone footage? Wishing to create cinematic masterpieces with your drone? Look no further! This comprehensive guide has got you covered with drone video tips to optimise your drone’s features and settings for capturing stunning aerial footage. We’ll also share expert advice on flying your drone cinematically and throw in some inspiring shot ideas to spark your creativity.
Let’s dive in and turn your drone footage into an aerial masterpiece.
Understanding Drone Capabilities and Limitations
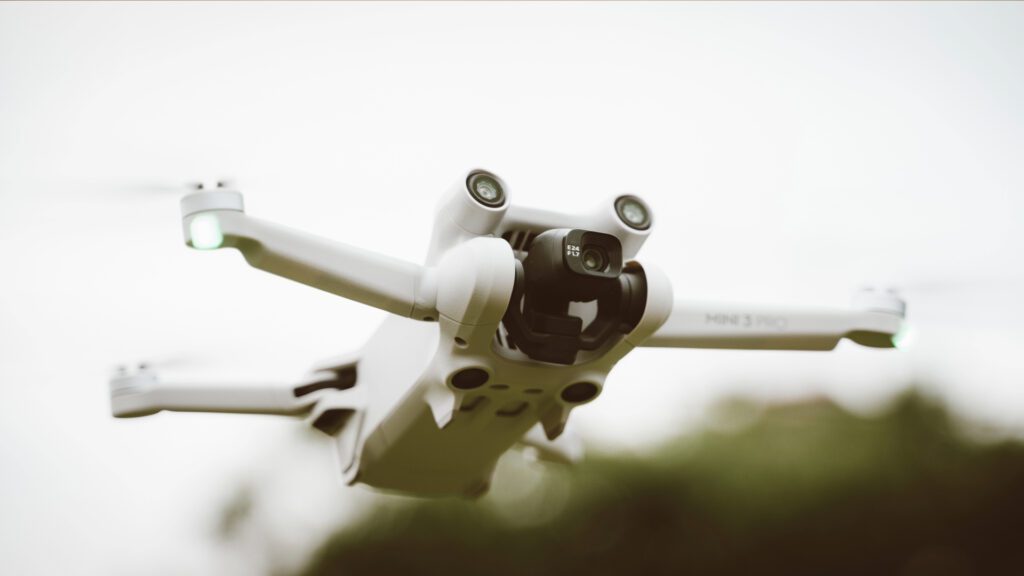
Every drone out there has its own unique set of capabilities and limitations. For instance, the Mavic Mini 2 boasts aperture settings, which the Mini 2 or 3 don’t have. So, it’s important to familiarise yourself with your drone’s specific settings and what it can do to fully unlock its potential for different shots.
The same goes for flight controls. While some drones come equipped with an ‘Active Track’ feature, not all drones share this. However! Even without those fancy automated systems, you can still achieve those awesome movements manually and better yet, it will allow you to gain that ultimate freedom and control over your shots.
Planning and Preparing for Your Drone Shoot
What you intend to shoot and the current weather conditions will influence the type of footage you capture. It’s about playing around with your camera settings to achieve the right exposure and noise. Like any gadget, you need to play around with it and know its capabilities inside out.
Also when planning your drone shoot, you need to consider the weather. Although hard to predict (especially if you live in England like us), it’s important to keep an eye on it.
Calm winds are your best friend for smooth and stable flights as windy conditions can make it challenging to maintain control and steady footage.
We like to keep an eye on the weather changes throughout the day for when we want to go out and potentially shoot something. The Met is a great app that provides accurate weather updates but also valuable information like sunrise and sunset times.
So keep an eye out and adapt your plans accordingly.
Consider the location
Where and what you want to shoot will help decide the best time of day to go.
For example, droning on top of a mountain might look great at sunset as the shadows can bring out the depths of the country flatlands. Whereas when filming a lake, using a polarising lens (a type of ND filter) during midday can be advantageous to showcase its natural colours and reduce glare.
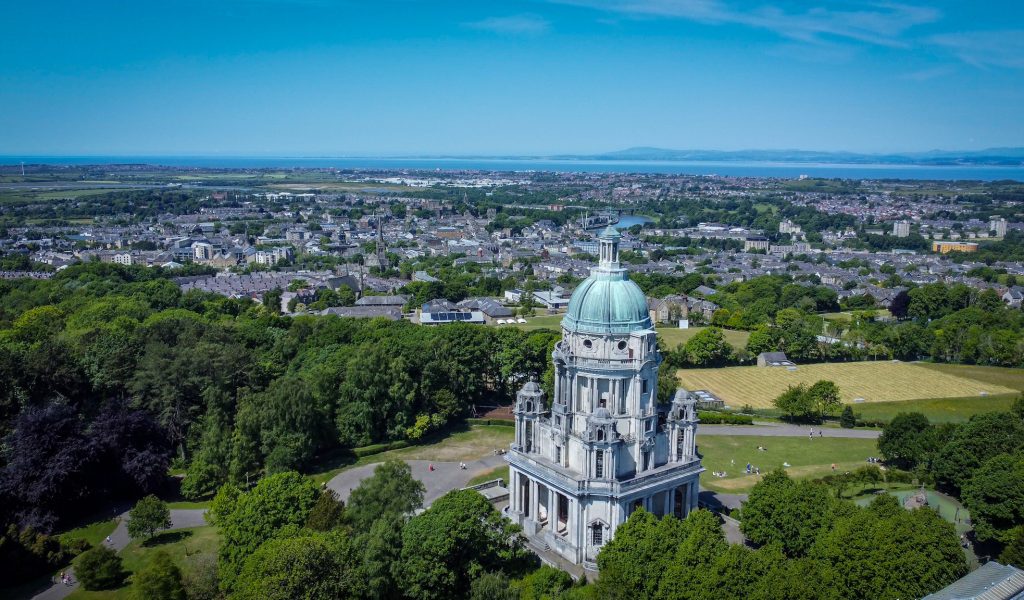
Overcast skies can create a moody atmosphere that complements historical landmarks and certain landscapes, while clear blue skies provide a vibrant and cheerful backdrop that adds energy to more lively scenes.
Think about WHAT you want to capture and HOW you want to capture it.
Certain shots will justify certain landscapes better.
When we went to shoot a local castle, the vastness of the castle was captured best with an orbiting shot. Whereas coastlines and coastal towns worked wonders with revealing shots.
If the phrase “orbiting shot” means nothing to you, it’ll make sense once you reach our section on drone shot ideas at the end of this article.
Mastering Smooth and Stable Flights
Before we dive into exposure settings and shots, I need to stress the importance of smooth drone flights.
When you’re up in the air, take advantage of the drone’s fancy stabilisation features and handle those control sticks with finesse. Smooth input equals smooth output.
It’s frustrating when you’re about to capture a breathtaking scene, but a slight mishap with the controller causes your drone to jerk uncontrollably. Suddenly, that stunning mountain shot you had in mind ends up looking like it was filmed by an enthusiastic child.
Smoothness and being gentle with the control sticks will ease your drone into each shot and result in professional-looking footage. This can be done easier with the drone flying in cinematic or tripod mode – available on most drones – giving us more control over the drone’s controls with no sudden movements.
Check out drone flying tips for beginners.
Utilising Golden Hour
Ask any photographer or videographer and they’ll tell you that lighting is everything for capturing a great shot or video.
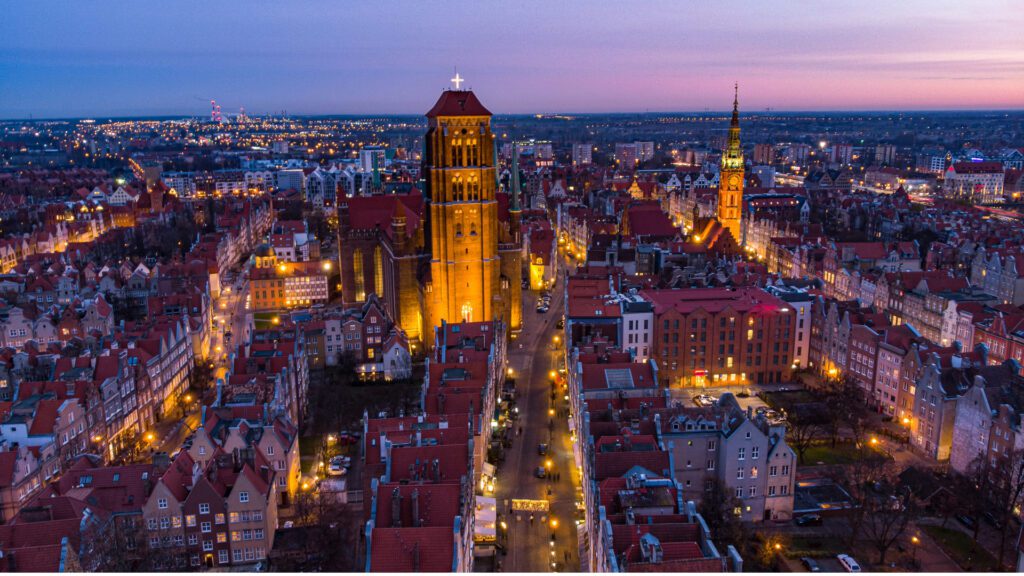
Early mornings and late afternoons are often referred to as the “golden hours” for photographers, and the same principle applies to drone videography. This is roughly an hour after sunrise and an hour before sunset. During this time, the soft and golden light adds a touch of enchantment to your shots, creating stunning contrasts, colours and shadows.
It can transform an ordinary landscape into a mesmerising scene. So, set your alarm clock and make the most of these golden hours to capture truly captivating aerial footage. I mean, who doesn’t love a great sunset shot?!
Optimising Camera Settings
Camera settings are the gateway to great drone footage.
Adjusting parameters such as aperture, shutter speed, ISO, and white balance allows you to fine-tune the exposure, capture sharper details, and achieve accurate colours. For instance, controlling the aperture can influence the depth of field, creating a cinematic look with a blurred background or ensuring everything from foreground to background remains sharply in focus.
Whilst, optimising the shutter speed can modify any motion blur effects. A rule of them with shutter speed is this:
Set your shutter speed to double the frame rate you’re using.
For example, if you’re shooting at 30 frames per second (fps), aim for a shutter speed of around 1/60th of a second. This helps to capture each frame smoothly and avoid motion blur, making the footage look natural.
However, it’s important to adjust the shutter speed based on lighting conditions. In brighter settings, you may need to increase the shutter speed. However, in certain circumstances such as after sunset, it can be tricky to maintain this balance. Adjusting the shutter speed too high to maintain good light in the picture may result in the footage coming out noisy or grainy.
The best way to avoid this and ensure crisp footage is to invest in ND filters. More on this in the next topic.
Check out drone photography tips for capturing stunning aerial shots and optimal camera settings to ensure you get the absolute best out of every shot.
Using ND Filters
Now, let’s talk about an accessory that will take your aerial footage to the next level: ND filters.
These little gems work wonders in balancing the exposure and controlling the amount of light that hits your drone’s gimbal lens. They do this by slowing down the shutter speed.
As mentioned before, you want to keep your shutter speed at twice the frame rate which can be difficult to maintain in certain light conditions. ND filters help to keep this balanced.
This means you can capture those epic shots without worrying about overexposure or washed-out colours. They also take a lot of post-production editing off you by achieving a more natural and balanced look during the shooting process.
ND filters come in different strengths, so you can choose the most appropriate one to match the light conditions. For example, midday may need a higher ND strength to tame the intense sunlight, while a bright but overcast day may call for a slightly lower ND strength.
Check out more must-have drone accessories.
Post-Processing Techniques to Enhance Your Footage
Now we are down the last touches you can make to your drone footage. If you have followed the above steps correctly, there shouldn’t be too much correction to do post-production.
When it comes to enhancing your drone footage, mastering basic colour correcting and editing techniques can make a world of difference. Colour correction allows you to adjust the colours, brightness, and contrast of your footage to make your scenes pop.
Additionally, by editing and creating a sequence of clips from the shots gathered above, you can create an engaging story. Adding transitions and music can help create a professional video.
There are several paid and free options to choose from when it comes to editing software. Personally, we like to go with the Adobe Suite as it has all the editing packages for pictures and videos in one bundle. But there are cheaper alternatives, especially if you want to make quick reels and clips from your phone. For example, we use the ShotCut app to put together clips if we want to make a quick sequence from our phone.
Drone Shot Ideas for Unique Aerial Cinematography
Now that your settings are sorted, it’s time to grab some footage. Here are a few drone shot ideas to try out.
Remember that you’re already in the sky revealing a different perspective than most would see. So, half the job is done for you the moment you hit record. What these shots will do is add a little spice to the mixture and bring your scene to life.
And as I mentioned earlier, the key to nailing these shots is the smooth movement of the control sticks. Whether shooting in cinematic or sport mode, be gentle in your movements and the results will reflect in your footage.
Reveal
Keep the gimbal facing down to start and have your drone hover as close to the ground as you feel comfortable. Then, move the drone forward with the right control stick, at the same time, slowly move the gimbal up with the dial to reveal the scene.
Keep in mind that the closer you are to the ground, the faster your drone will appear to be flying. It can add an extra thrill and intensity to the footage!
Here’s a pro tip: if you’re hovering your drone over water, this technique works like a charm. You can use it to reveal a stunning coastline or highlight a remarkable landmark.
Backwards reveal
This move is perfect for adding a touch of drama and revealing what’s happening behind the scenes.
First, hover your drone in front of your subject – this is fun to try with yourself as the subject.
Then, gently push up on the left control stick while pulling back on the right control stick. The drone will move backwards and up, revealing the background behind the subject.
This move can also be done automatically by selecting ‘Dronie’ in the ‘Quickshots’ settings.
Orbit
Get your drone nice and high with your subject in the middle. This is easier to see if you turn on ‘gridlines’ in your settings. That way, you can easily tell if you’re keeping your subject in the middle.
Then depending on the direction you want to orbit, you want to push both sticks away from each other or towards each other. Experiment with how far you push the sticks to maintain a centred subject while achieving a smooth circular motion with your drone.
This move takes a couple of tries to get used to, but once you’ve got the feel for it, this move will add a super dynamic and impressive touch to your footage.
This move can also be done automatically by selecting ‘Orbit’ in the ‘Quickshots’ settings.
Follow the line
Creating a “follow the line” shot with your drone is a fantastic way to add cinematic flair to your footage.
First, choose a clear line to follow. It could be a road, a trail, a coastline, or any other visually appealing line that stands out. Then, position your drone above the starting point of the line or at a good starting point.
To complete the shot, simply follow the line with your drone by pushing the right control stick gently forward.
This can also work great with the ‘Follow me’ or ‘Active Track’ feature in some drone models. By highlighting a moving subject such as a car or a person walking, the drone will automatically follow that subject.
Please be aware that it’s not recommended to fly your drone above busy roads. So, when you’re planning your drone flights, make sure you have plenty of open airspace and avoid flying directly over motorways or heavily trafficked roads. Instead, opt for off-beaten tracks or less busy roads.
All in all, variety is key. So try out different angles and perspectives to showcase the beauty and intricacies of your chosen location.
Key takeaways
- Smoothness is key to any great drone shot. Make sure you are gentle when moving the control sticks and gimbal dial as any jerky or sudden movements could impact your shot.
- Keep your shutter speed at double the frame rate.
- ND filters will help filter out glare and intense light. It also means less work in post-production.
- Variety is key.
- Half the job is done for you once you’re in the sky and recording a scene. Mastering a few shots and angles adds a certain awe and life to your visual storytelling.
FAQs: Drone Video Tips and Shot Ideas
Why does my drone footage look bad?
Shaky footage, poor lighting, weak signal and a slow SD card can all contribute to drone footage that doesn’t look great.
To create professional-looking footage, make sure you are smooth on the control sticks to avoid jerky footage. Upgrade to a faster and higher capacity micro SD card to avoid dropped frames. And make sure to adjust the camera settings before flight – and use ND filters – to balance the amount of exposure.
How can I achieve smooth and controlled movements with my drone?
To achieve smooth drone motion, it’s important to be gentle with the control sticks. Smooth inputs result in smooth movements. Avoid jerky motions by gently and gradually adjusting the controls. You may find it easier to achieve this by lightly pinching the thumbsticks with your thumb and index finger instead of using just your thumbs. This technique allows for greater flexibility and precision in controlling the drone’s movements.
Additionally, keep an eye on wind conditions. Too much wind can cause your drone to move uncontrollably and may interrupt your shots.
Most drones have a tripod or cinematic mode that slows down the drone’s movements. This mode is perfect for those silky smooth shots. You can also adjust the gimbal movement speed in the drone’s settings. By slowing this movement speed down, you can practice smooth shots.
If you notice some minor bumps or wobbles in your footage, fear not! You can often smoothen things out during the editing process using stabilisation tools.
Remember, the more you fly and experiment with different movements, the better you’ll become at achieving those smooth and controlled shots.
What are some ideas to make my drone videos stand out?
When it comes to making your drone videos stand out, it’s all about knowing the vibe you want to convey. Are you aiming for a slow and cinematic feel to highlight a historical landmark? Or perhaps a fast-paced action shot following a downhill bike? Understanding the desired atmosphere can guide you in selecting the right flight mode for your shots.
Variety is key. Don’t be afraid to try out various angles and perspectives. And don’t forget to spice up your shots by incorporating interesting elements like leading lines, patterns, or reflections. These elements can bring depth and visual interest to your footage, making it more engaging and memorable.
Aerial tracking shots are another fantastic technique to consider. By smoothly tracking moving subjects or vehicles, you infuse your videos with a thrilling sense of motion and excitement.


